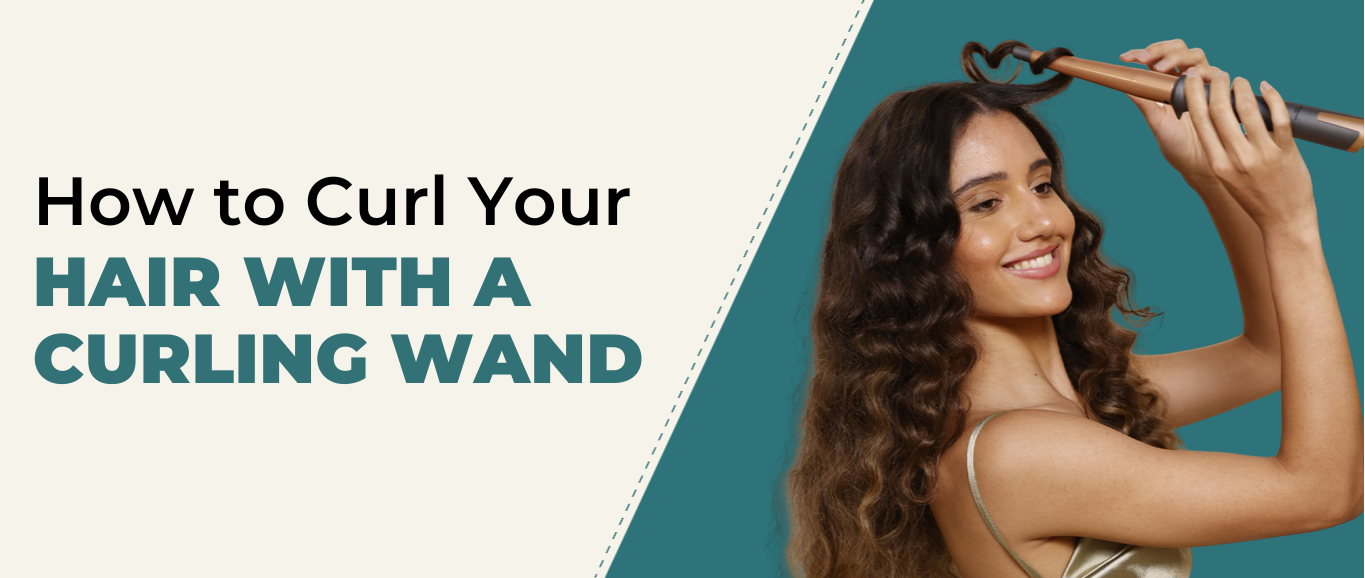
Is it a curling wand? No, it is a magic wand which gives you gorgeous bouncy curls or relaxed beachy waves. Anyone who wants long-lasting & quality curls without much effort can choose a hair curling wand. What else does a girl need? Just beautiful curls with little effort and that is it. To get perfect curls, you need to know how to properly curl your hair with a wand.
No! Don't think that it is very difficult to create curls using a curling wand. It is actually very easy but before moving forward, it's really important to know your tool from the inside out so that you can make full advantage of the tool. So, let's start with some basics.
What is a Hair Curling Wand?
Unlike traditional curling iron, hair curling wand is a cylindrical, conical tool without any clamp. It features a simple, heat-retaining barrel around which you wrap your hair to create those bouncy curls. The good part is that the wand comes in various barrel sizes, which can influence the type of curls you want. For instance, small barrels result in tight curls while large barrels result in looser, beachy waves. Some wands nowadays come with interchangeable barrels which give you flexibility to customize your curls.
Benefits of Using a Curling Wand
Calling curling wands the magic wands is not only a thing to say but has its reasons behind it. Curling wands have transformed the way of styling the hair. From tight ringlets to loose beachy waves to volumized, bouncy curls, you can achieve all using this simple hair styling tool. Not only this, it offers plenty of other benefits too, let's have a close look:
Natural, relaxed curls
As mentioned above, curling wands don't have clamps like curling tongs so they allow you to create curls freely. Consequently, you get relaxed, more natural and voluminous curls.
Versatile Styling
From tight ringlets to loose, tousled waves, you can create all using a curling wand. It also comes in different barrel sizes which enables you to choose your own style.
No Creases
Since there's no clamp, you can freely create your curls without worrying about getting those annoying creases or dent that some curling irons leave.
Ease of Use
As mentioned, curling is not just a curling wand, it's a magic wand so it helps you get that curly look magically without much effort. Also, with practice, curling your with a wand becomes a fast and efficient way to style your locks.
Long-lasting Results
The even heat distribution and high temperatures helps get curls that last longer, especially, when you choose the right tool.
Suitable for All Hair Types
Whether you have thin, sleek hair or volumized, frizzy hair, curling wands can be used on various hair types and lengths providing consistent results across the board.

Step by step guide on how to curl your hair using a curling wand?
It's time to dive deep into the question, "how to curl your hair with a curling wand." Be relaxed, it is really easy. you just have to follow some simple steps and viola, it will be done.
Step 1: Preparation is the key for achieving gorgeous curls
Wash and condition your hair
Always start styling with clean hair. Make sure to use a moisturizing shampoo and conditioner that makes your hair smooth and silky.
Protect your hair
Many hairstylers nowadays come with heat protection technology but prevention is better than cure. Before applying any heat to your hair, do not forget to shield them with a heat protectant spray or serum.
Dry your hair
Styling should always be done either on damp hair or dry hair. So before moving forward, let your hair air dry or you can also blow dry your hair.
Detangle your hair
Detangling is one of the most important steps. Use a wide-tooth comb or brush to remove tangles from your hair. This helps the wand glide more smoothly through your hair, preventing snagging.
Step 2: Choose A Right Wand
Different barrel sizes give you different types of curls. So choosing a right curling wand depends on the type of curls or waves you want to achieve.
Small Barrel (25mm or less)
If you want to have tighter curls or ringlets then this is an ideal choice for you. It will give you a more defined, retro curl look.
Medium Barrel (25mm to 38mm)
Perfect for natural, voluminous curls with some bounce, this wand is one of the ideal choices for most hair types. You can get a little tighter curls with this or loose, natural waves too.
Large Barrel (above 38mm)
Want to get that loose curls, beachy wave look? Then, this is the perfect curler for you which gives you a perfect relaxed, tousled look.
Step 3: Section Your Hair
Sectioning is the basic step you need to do for every hair style. This will help you get even curls without forgetting any strand.
Divide your hair into multiple sections
You have to divide your hair into 4-6 sections, depending on the thickness and volume of your hair. Use clips to divide them into manageable parts.
Start from the bottom
Keep the sections in a way that you can start curling from the bottom. This will give you a more sorted and volumized look.
Step 4: Curling Your Hair
The real game starts here. It's that part of the styling where you actually have to learn how to curl your hair using a wand.
Turn on your hair wand
Plug-in your wand and select an appropriate temperature according to your hair type. For fine or damaged hair, you can choose a lower temperature while for thicker and coarse hair, you can choose a higher temperature.
Wrap your hair around the wand
Starting from bottom, take a section, and wrap it around the wand. You can hold the wand vertically or horizontally, depending upon the direction of curl you want to achieve. For defined and tighter curls, wrap the hair tightly and hold for around 5-10 seconds. For looser waves, wrap the hair loosely, and hold for a shorter time. If you want a volumized look, curl the hair away from your face when wrapping. This will give you an added volume and bounce.
Release the curl
After holding the hair for a few seconds, release the curl carefully by unwinding it from the wand. Let the curl cool in your hand for a few seconds before letting it drop. This will help set the curl and make it last longer.
Repeat the process for all sections
You have to repeat this curling process for all your hair sections one by one until all your hair is set. For a more natural look, you can alternate the direction of your curls. Curl one section away from your face and another towards your face. This will give you a more natural and tousled look.
Let your curls cool
Once all your sections are done, give them a few minutes to cool and settle. This will help them to hold their shape for a longer duration.
Step 5: Aftercare for Your Curls
You think, you can feel relaxed after just curling your hair? No, not at all. You have to give them a magical potion which let them stay in their position. Once your curls are set, run your finger through them to loosen them up a bit for a more natural look. After then, use a hair setting spray to give them a final touch. However, make sure not to use too much product as it can weigh down your hair and make the curls fall flat and nobody needs that, right? So just follow the steps and flaunt your beautiful ringlets or waves.
Conclusion
Curling your hair using a hair curling wand is an easy and versatile way to get beautiful curls and waves. If you know how to curl your hair with a wand properly then you can achieve flawless curls in no time. You just have to choose the right tool and master the right technique. As a result, you can style your hair with a wand in no time. Whether you want to rock a girls night or flaunt your ringlets with your traditional outfit, with a curling wand you can do it all.


